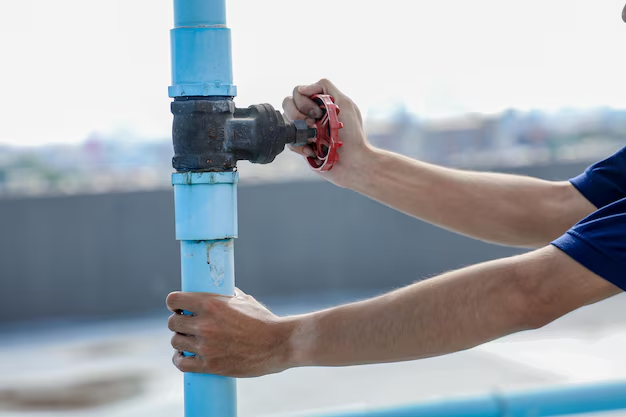
How to Seamlessly Install a Water Line for Your Refrigerator
Incorporating a refrigerator with a water dispenser or ice maker into your kitchen can offer unparalleled convenience. While these appliances elevate modern living, they require a well-installed water line to function optimally. For many, the thought of installing a water line might seem daunting. Luckily, with some guidance and a few tools, this project is achievable for most homeowners. This guide will walk you through the steps and offer helpful tips to ensure a smooth installation.
Understanding the Basic Requirements
Why Install a Water Line?
Modern refrigerators equipped with water dispensers or ice makers simplify day-to-day tasks. They provide fresh water or ice at your convenience, adding a touch of luxury to your kitchen. However, the seamless operation of these features hinges on a properly installed water line.
Tools and Materials You Will Need
Embarking on this installation requires some preparation. Gather these essential tools and materials before beginning:
- Drill and drill bits
- Adjustable wrench
- Tube cutter
- Screwdriver
- Teflon tape
- Copper or polyethylene tubing
- Shut-off valve (preferably a saddle valve)
Choosing the Right Tubing
There's a choice between copper and polyethylene tubing. Copper tubing is renowned for its durability and resistance to punctures. On the other hand, polyethylene tubing is more flexible and easier to work with, particularly for novice DIYers. Your choice may depend on personal preferences or existing home setups.
Step-by-Step Guide to Installation
Step 1: Locate the Nearest Cold Water Source
To reduce the complexity of the project, find the nearest cold water source. This is typically beneath the kitchen sink or from a nearby pipe leading to another appliance. The closer the water supply, the easier the installation process.
Step 2: Turn Off the Water Supply
Before any slicing or drilling, ensure that you turn off the mains water supply. This minimizes the risk of flooding or leakage.
Step 3: Install the Shut-off Valve
A shut-off valve allows you to stop water flow in case maintenance is needed in the future.
- Choose the right spot on your pipe - usually a level area that isn't obstructed.
- Attach the saddle valve to the pipe using a clamp.
- Tighten it securely to ensure no water trickles out once pierced.
Step 4: Attach the Tubing
Once the valve is firmly in place:
- Cut your tubing to the required length, ensuring it will reach from the shut-off valve to the refrigerator with some slack.
- Attach one end of the tubing to the saddle valve. Use a wrench to secure it tightly.
- Route the tubing along the baseboard or back of the cabinets, keeping it away from sharp edges or heated surfaces that could cause damage.
Step 5: Connect the Tubing to the Refrigerator
With the tubing routed appropriately:
- Connect the other end of the tubing to the inlet valve found at the back of the refrigerator.
- Use Teflon tape on the threads before screwing it in to prevent leaks.
Step 6: Test for Leaks
- Slowly turn on the water supply to check the connection points.
- Examine each joint to ensure there are no signs of leakage.
- Tighten any connections if necessary.
Enhancing Installation: Delving into Subtopics
Choosing the Optimal Location for the Refrigerator
When deciding where to place your refrigerator, consider accessibility to a water line and its proximity to a proper electrical outlet. Ensure there's sufficient space at the back for air circulation and space to pull out the fridge if needed.
Maintenance Tips for Your Water Line
Maintaining your new installation can prolong its life:
- Regularly inspect the tubing for potential damage or wear and tear.
- Ensure the shut-off valve is always operational by checking it periodically.
- If using copper tubing, monitor for any signs of corrosion.
Benefits of Professional Installation
While installing a water line is manageable for DIY enthusiasts, some might prefer professional installation. Professionals boast experience and can identify potential obstacles that non-experts might overlook. This option might be especially appealing for those with older home plumbing systems or unique kitchen layouts.
Common Mistakes to Avoid
Using Wrong Tools
Ensure you're using the suitable tools specific to plumbing projects. Using incorrect tools might lead to a poor installation, causing leaks.
Not Checking for Leaks Thoroughly
Don't overlook minor leaks. Tiny droplets can build up over time, leading to significant water damage or mold growth in unseen areas.
Overlooking Maintenance
Ignoring maintenance can lead to clogs or burst pipes. Regular checks prevent costly repairs or replacements in the long run.
📝 Quick Summary
Here's a brief visual summary of the installation process:
- 🧰 Gather tools and materials: Drill, wrench, screwdriver, tubing, Teflon tape.
- 🚰 Locate & tap into the nearest cold water source: Ensure ease of access.
- 🔧 Install a shut-off valve: Ensure easy future maintenance.
- 🔗 Connect tubing: Route carefully to avoid any future damage.
- 📏 Measure twice, install once: Ensure everything fits perfectly.
- 🔍 Test for leaks: Prevent future water damage.
Concluding Insights
Installing a water line for your refrigerator can significantly enhance your kitchen’s utility, adding both convenience and value to your daily routine. While the task might appear daunting initially, breaking it down into manageable steps can simplify the process. Arm yourself with patience and the right tools, and you'll find the challenge straightforward and gratifying. Remember, if uncertain at any point, consulting with or hiring a professional is always a prudent choice. Embrace the modern kitchen conveniences that a correctly installed refrigerator water line can offer!

