Mastering the Art of Aging Meat in Your Refrigerator: A Comprehensive Guide
Have you ever savored a perfectly cooked steak, its flavors robust and its tenderness unmatched? This culinary delight is often the result of a crucial but intricate process known as meat aging. While it might seem like an expert-level task reserved for high-end steakhouses, dry-aging meat at home is achievable, safe, and can elevate your cooking to new heights. In this comprehensive guide, we’ll take you through everything you need to know about aging meat in your refrigerator, providing you with tips, techniques, and insights that will ensure your success every time.
Understanding Meat Aging
Dry-aging is a time-honored process where beef is left to sit in a carefully controlled, refrigerated environment for several weeks. During this time, the meat undergoes enzymatic and biochemical changes that enhance its flavor and tenderness. Unlike wet-aging, which involves vacuum-sealing meat, dry-aging exposes it to air, allowing moisture to evaporate, thereby concentrating flavor.
Why Age Meat?
- Flavor Enhancement: The aging process allows natural enzymes to break down muscle tissues, which leads to more intense flavors. This is why aged meat is often richer and more complex than fresh cuts.
- Tenderness Improvement: The breakdown of muscle fibers results in a more tender texture, making the meat more enjoyable to eat.
- A True Gourmet Experience: Aged meat provides an opportunity to enjoy meat at its peak, offering a taste profile that is particularly unique and gourmet.
Dry-Aging vs. Wet-Aging
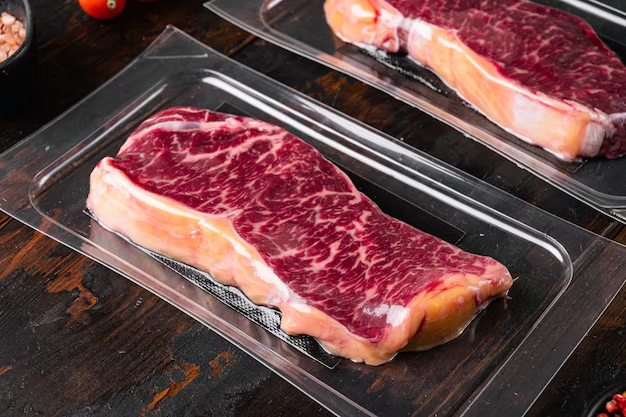
While dry-aging is the focus of this guide, it is essential to understand its counterpart, wet-aging. Wet-aged meat is stored in vacuum-sealed bags to retain its moisture. This method is quicker and usually less costly. However, it doesn’t offer the same depth of flavor and tenderness as dry-aging.
Preparing to Dry-Age Meat at Home
Before proceeding with dry-aging in your refrigerator, ensure that you have the necessary equipment and that your setup is appropriate.
Essential Equipment
- Refrigerator with Stable Temperature: Consistent temperature control is crucial. A dedicated fridge works best but isn’t mandatory.
- Wire Rack and Baking Sheet: Allows air circulation beneath the meat, ensuring even aging and preventing spoilage.
- Fans and Humidity Control: Optional but helpful additions to maintain the ideal humidity—approximately 80%.
- Thermometer: To monitor the temperature inside the refrigerator, aiming for a steady 34°F-38°F (1°C-3°C).
Selecting the Right Cut
- Prime Rib or Ribeye: These are the most popular cuts for dry-aging due to their thickness and marbling.
- Strip Loin: Also a favored choice for similar reasons, offering a balance of flavor and texture.
- Bone-In Cuts: Opt for bone-in when possible, as the bone adds flavor and supports structure during aging.
The Dry-Aging Process: Step-by-Step
Once you have your setup ready and meat selected, it’s time to start the aging process. Here’s how to do it:
Step 1: Prepare the Meat
- Trim the exterior slightly, maintaining the fat cap, which protects and adds flavor during aging.
- Pat the meat dry to eliminate any extra moisture on its surface.
Step 2: Set Up Your Aging Environment
- Place the wire rack over the baking sheet to collect any drippings.
- Position the meat on the rack and ensure there’s ample space around it for airflow.
Step 3: Monitor Conditions
- Keep a consistent temperature and humidity. Check daily to ensure that your fridge remains at the ideal conditions.
Step 4: Age the Meat
- Generally, 14-28 days is the common timeframe, with flavors intensifying as time progresses.
Emoji-Supported Summary Section: ✅ Quick Tips for the Aging Process
- 🥶 Consistent Cold: Keep the fridge between 34°F-38°F (1°C-3°C).
- 🌬️ Airflow is Key: Ensure your setup allows for proper airing, using a rack.
- ⏳ Patience Pays: Allow distinct flavors to develop by giving it time—consider 21 days a good base.
- 🔄 Daily Check-ins: Regularly monitor the environment to ensure conditions hold stable.
Step 5: Preparing to Cook
- After the desired aging period, remove and trim away any dried or undesirable areas from the outer layer.
Safety Considerations
While dry-aging is a safe process when done correctly, maintaining a careful watch over the environment can help prevent any unfortunate pitfalls.
Signs of Spoilage
- Off-Putting Odor: A nutty aroma is normal, but a sour or rotten smell is not.
- Discoloration: Darkening is expected, but green or sticky remnants could indicate an issue.
Hygiene Practices
- Always work with clean tools and surfaces to avoid contaminants.
- Handle meat with washed hands and consider wearing gloves while trimming post-aging.
Cooking Aged Meat: Getting the Most Flavor
Once you have completed the aging process, it’s time to cook and enjoy your gourmet creation.
Cooking Tips
- Minimal Seasoning: Let the quality of the meat shine by seasoning sparingly, usually with just salt and pepper.
- High Heat First: Sear your cut on high heat to caramelize the outside, locking in those enhanced flavors.
- Use a Thermometer: For precision, especially with rarer cooked temperatures, a meat thermometer can ensure perfect doneness.
Pairing Suggestions
Complement your aged meat with sides that won’t overpower. Think classic—like garlic mashed potatoes or roasted vegetables. A robust red wine can further enhance and highlight the complex aromas.
Long-Term Storage of Aged Meat
Once aged, you may choose to cut and portion some of the meat for later. Proper storage can retain the improved flavors and textures.
Freezing Tips
- Vacuum seal individual portions to prevent freezer burn.
- Label with aging details and the freezing date for an easy future reference.
Thawing Best Practices
- Allow your cut to thaw slowly in the refrigerator, helping it retain its juice and texture more effectively.
Final Thoughts on Dry-Aging at Home
While dry-aging meat at home requires a measure of patience and attention to detail, the resulting flavor and texture are a culinary reward well worth the effort. By following this guide, you’re equipped to embark on the journey of aging meat with confidence.
In doing so, you’ll not only improve your culinary skills but bring the art of kitchen craftsmanship to your very own dinner table, transforming routine meals into gourmet experiences with every slice. Whether you’re a seasoned home chef or an avid carnivore, the exploration into dry-aging meat is bound to tantalize your palate in delightful new ways.