How to Seamlessly Replace the Water Filter in Your LG Refrigerator LT1000P
When it comes to maintaining the freshness of your filtered water, replacing your refrigerator's water filter is an essential task. The LG Refrigerator's water filter, LT1000P, needs a change roughly every six months. While this routine may seem trivial, it plays a crucial role in ensuring the quality of your household water. In this comprehensive guide, we’ll explore the process of changing the water filter, and offer insights into why it's important, tips for maintenance, and troubleshooting common issues.
📈 Understanding the Importance of Replacing Your Water Filter
Before diving into the step-by-step instructions, it's crucial to understand why replacing your water filter is so important. Filters are tasked with removing contaminants, such as chlorine, lead, and other impurities, ensuring you get the best-tasting and safest water possible.
Benefits of Regular Filter Replacement
- Healthy Living: Regular replacement ensures the removal of potentially harmful substances, supporting overall health.
- Enhanced Taste and Odor: Fresh filters help maintain the pure taste and neutral odor of your water.
- Appliance Longevity: Proper maintenance can extend the life of your refrigerator by preventing buildup and blockage.
🔧 Step-by-Step Guide to Replacing Your LG LT1000P Water Filter
Changing your refrigerator’s water filter can appear daunting at first, but with a little guidance, it’s a straightforward process. Here's how to do it right.
Preparation
- Purchase a Compatible Filter: Ensure you have the LG LT1000P water filter. Check your refrigerator model for compatibility.
- Gather Supplies: Have a clean cloth or towel at the ready to catch any drips or spills.
Replacement Process
Locate the Filter: The LT1000P filter is often located in the upper left or right corner of the interior of the fridge, depending on your model.
Turn Off the Water: Before removing the old filter, make sure to turn off the water supply to prevent spills.
Remove the Old Filter:
- Grasp the filter handle and twist it counterclockwise to unlock it.
- Gently pull out the filter from its housing.
Install the New Filter:
- Insert the new filter into the housing and twist it clockwise until it locks into place securely.
Turn the Water Supply Back On:
- After the new filter is installed, turn the water supply back on.
Flush the System:
- Run about 2 gallons of water through the dispenser to remove any air and impurities from the new filter.
🎯 Quick Tips:
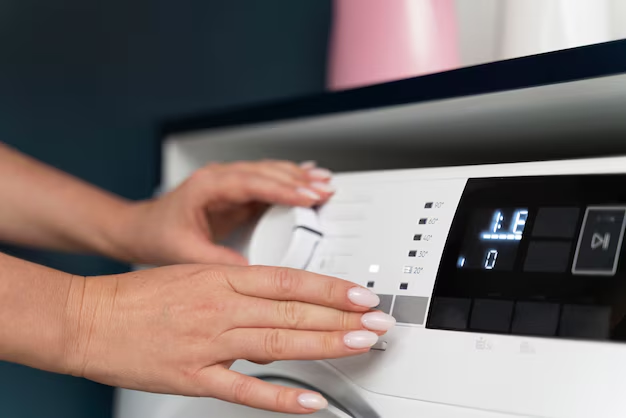
- Always reset the change water filter indicator on the control panel.
- Replace your filter more frequently if there’s heavy use or a noticeable decline in water quality.
🧡 Maintaining Your Refrigerator Post-Replacement
Proper maintenance after replacing your filter can help sustain its performance.
Routine Checks
Monitor Water Quality: Keep an eye (and taste) out for any decline in water quality—this can indicate it’s time for another change.
Examine Seal Integrity: Regularly check that the filter is sealed correctly. This prevents leaks and maintains water flow.
Best Practices
Avoid Over-Tightening: When securing the new filter, hand-tighten only. Over-tightening can damage the filter or housing.
Keep Spare Filters Handy: Since replacement is a frequent task, having a spare filter ready can save time and ensure you never run out of fresh water.
⚠️ Troubleshooting Common Issues
Even with proper care, issues can occasionally arise. Here’s how to troubleshoot some common problems:
Water Dispenser Fails to Work
Check Installation: Ensure the filter is installed correctly and is fully engaged in the housing.
Examine Water Flow: If flow is unusually slow, examine the water line for kinks or blockages.
Leaking Filter
Check Seals: Ensure the O-rings or gaskets are not damaged and are seated properly.
Verify Tightness: Confirm that the filter is securely locked in place.
Filter Not Fitting
- Double-Check Model Compatibility: Verify the filter is the correct model for your specific refrigerator.
📋 Quick Reference Summary: Changing Your LG LT1000P Water Filter
Here’s a bullet-point summary to serve as a quick reference whenever you need to replace your filter:
- 🛒 Buy the Right Filter: Ensure compatibility with your model.
- 🚰 Turn Off Water Supply: Prevent flooding or spills.
- 🔄 Twist Out the Old Filter: Remove by turning counterclockwise.
- 🔄 Insert New Filter: Secure by twisting clockwise.
- 💧 Flush System: Run 2 gallons through the dispenser.
- ✅ Reset Indicator: Signal that a new filter is in place.
- 🔍 Monitor: Watch for changes in water taste or flow.
Replacing your LG LT1000P water filter need not be a daunting task. With this guide, the process is straightforward and effortless, ensuring your family enjoys clean and refreshing water continually. Remember, keeping your water filter in top condition is a small but important step in maintaining a healthy home. Stay proactive with your appliance care, and you’ll undoubtedly appreciate the seamless convenience and taste quality a well-maintained system provides.