Revive Your Stainless Steel Fridge: A Complete Guide to Fixing Scratches
Stainless steel refrigerators are often lauded for their sleek appearance and durability. However, even the most careful homeowner can find their appliance marred by unsightly scratches. Whether caused by errant utensils, curious pets, or bustling kids, scratches on stainless steel can detract from its polished look. Fear not, though, as there's a range of strategies to restore your fridge to its original glory.
Understanding Stainless Steel: Why It Scratches
Stainless steel is made of iron, carbon, and chromium, which gives it its famed resistance to rust and tarnishing. Despite its name, it isn’t insulation from nicks or scratches. The lustrous appearance is due to a surface layer of chromium oxide, which, when damaged, can show scratches more prominently. The way scratches show can depend on:
- The direction of the grain: The linear texture in stainless steel is called the grain. Attending to scratches properly involves following these grain lines.
- Type of finish: Some finishes are more scratch-resistant than others, so understanding your appliance's finish is crucial in selecting the appropriate remedy.
Assess the Severity
Before diving into solutions, it's essential to assess the scratches. Run your fingernail over them; if your nail catches, it's a deeper scratch. Surface scratches, often caused by small abrasives or cleaning errors, can frequently disappear with some DIY methods. For deeper damage, more intensive solutions may be necessary.
Tools and Materials You Might Need
Here's a checklist of common tools and materials needed to tackle stainless steel scratches:
- Microfiber cloths: Soft and non-abrasive for safe cleaning
- Mild dish soap: For cleaning the surface
- Baking soda paste or whitening toothpaste: Gentle abrasive for light scratches
- Stainless steel polish or cleaners: Maintain luster and offer protection
- Non-abrasive pad: For scrubbing without damaging the surface
- Metal polish or compound: For deeper scratches
- Sandpaper or scratch removal kits: For administrative repairs
- Spray bottle with water: For keeping surfaces damp during sanding
DIY Solutions for Light Scratches
1. Baking Soda Paste
Baking soda is a gentle abrasive, perfect for dealing with surface scratches without causing further damage.
- Create a Paste: Mix one tablespoon of baking soda with two tablespoons of water to form a paste.
- Apply and Rub: Use a soft cloth or sponge to apply the paste along the grain of the scratch. Rub gently until the scratch diminishes.
- Rinse and Dry: Clean off residue with a damp microfiber cloth and dry thoroughly.
2. Whitening Toothpaste
Similar to baking soda, whitening toothpaste can act as a mild abrasive.
- Apply: Spread a small amount of toothpaste over the scratch.
- Rub: Use a damp cloth to rub the area, following the grain.
- Wipe Clean: Rinse with a clean, damp cloth and dry.
Solutions for Medium Scratches
3. Specialized Scratch Removal Kit
These kits often contain a range of pads, from fine to coarse, and polishing compounds.
- Follow Manufacturer Directions: Kits vary, so ensure you follow the specific instructions.
- Work Along the Grain: Apply the polish or compound as recommended, using pads to buff out the scratches.
- Clean the Surface: Wipe with a microfiber cloth after treatment.
4. Non-abrasive Cleaning Compounds
Products formulated for stainless steel offer more tailored solutions.
- Rub Cream/Compound: Apply the product with a soft cloth along the grain.
- Wipe Off Excess: Use a clean, damp cloth to remove residues.
Dealing With Deep Scratches
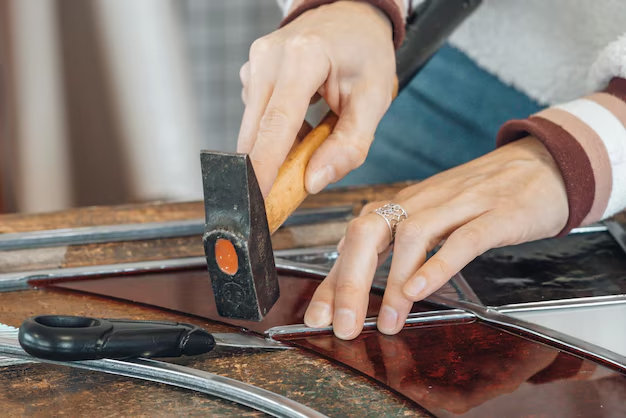
5. Metal Polish and Sandpaper
For more challenging scratches, sandpaper (use cautiously) and a metal polish might be necessary.
- Choose Appropriate Grit: Start with a fine-grit sandpaper (like 400) or follow the product guide.
- Wet Sand the Area: Keep the surface damp. Always go with the grain to avoid cross-scratches.
- Polish the Surface: Use a metal polish to restore the shine.
- Final Clean: Wipe with a clean microfiber cloth.
Preventing Future Scratches
Preventive care can be as crucial as addressing existing scratches. Consider these tips:
- Use Cleaners Sparingly: Choose cleaners specifically designed for stainless steel. Sprays and foams can leave protective layers that resist scratches.
- Avoid Abrasive Tools: Steer clear from harsh scrubbers or pads that might harm the finish.
- Be Mindful with Magnets: If you like to hang memos or photos, use softer magnets and relocate them occasionally.
- Routine Maintenance: Regularly polish to keep its luster, following the grain pattern.
Key Takeaways on Repairing Stainless Steel Scratches
Here's a quick recap of practical tips for maintaining your stainless steel appliance:
- 🧼 Use gentle abrasives like baking soda for light scratches.
- 🛠️ Utilize scratch removal kits for medium-depth issues.
- 🔄 Always follow the grain: It’s crucial for all levels of scratch repairs.
- 🛑 Avoid abrasive materials during cleaning to prevent new scratches.
- 🔍 Inspect regularly and handle minor scratches before they worsen.
When to Call a Professional
If DIY methods don't bring the desired results, or scratches are severely deep and unsightly, a professional might be necessary. They have access to specialized tools and compounds that can precisely address floors and comprehensive scratches, ensuring your refrigerator maintains its sleek appeal.
By following these strategies, you can prolong the life of your stainless steel refrigerator and keep it looking pristine. Being informed and equipped with the right tools means you can tackle any scratch that comes your way and enjoy the aesthetic elegance of your appliance for years to come.