Simplifying the Process: A Step-by-Step Guide to Connecting Your Refrigerator Water Line
Imagine enjoying a refreshing glass of chilled water straight from your refrigerator or adding ice cubes to your drink with a simple push of a button. While the idea is delightful, it requires connecting your refrigerator to a dedicated water line, an essential step often shrouded in complexity. Fear not! This guide will walk you through each stage, using straightforward language, practical insights, and handy tips. By the end, you’ll feel empowered to complete this task with confidence and efficiency.
Unpacking the Essentials
Why Connect a Refrigerator Water Line?
Before diving into the how-tos, let’s explore why connecting a refrigerator water line is beneficial:
- Convenience: No more refilling ice trays or carting over a water pitcher.
- Cost Efficiency: Less money spent on bottled water.
- Eco-Friendly: Reduces plastic waste from bottled water.
- Added Features: Enjoy modern refrigerator features fully, like ice makers and water dispensers.
Preparing for Installation
Before you start connecting that water line, careful preparation is key. Let’s cover the essential preparatory steps to ensure a smooth installation.
Gather Your Tools and Materials
Here's a handy list of tools and materials you'll need:
- Copper or plastic tubing for the water line
- Drill and drill bits
- Adjustable wrench
- Teflon tape
- Water line installation kit (often available at hardware stores)
- Bucket (to catch any water spills)
- Towel (for drying)
Decide on Water Line Type
You'll need to choose between *plastic or copper tubing. Here’s a quick comparison:
- Plastic tubing: Flexible, easy to install, generally more affordable.
- Copper tubing: More durable and resistant to wear but can be trickier to bend and install.
Your choice may depend on existing plumbing types at your home and personal preference.
Identify the Water Source
Selecting the right water source is crucial. Most refrigerators can connect to a nearby kitchen sink’s cold water pipe. Ensure the water source is within a reasonable distance to avoid complicated routing.
Safety Precautions and Considerations
Taking appropriate safety measures is crucial to a successful installation. Follow these general safety tips:
- Turn off the main water supply to avoid unexpected leaks.
- Unplug your refrigerator to prevent any electrical mishap.
- Use tools with care to avoid accidents or damaging your water line or refrigerator.
Step-by-Step Guide to Connecting Your Refrigerator Water Line
Let's dive into the core of our guide—the step-by-step process of hooking up that water line. Keep your tools, supplies, and preparation in mind as you follow along.
Step 1: Drill a Hole for the Water Line
Start by drilling a suitable hole either through your kitchen cabinet (if connecting via a sink) or through the floor if accessing a basement water line. The diameter should comfortably accommodate your tubing without leaving excess room.
Step 2: Connect the Tubing to the Water Source
- Attach tubing to the cold water pipe: Ensure the connection is sturdy by wrapping Teflon tape around the threads of your pipe fitting.
- Secure with a fitting: Connect the tubing using the appropriate fitting. Double-check that the valve is securely fastened to avoid leaks.
Step 3: Run the Tubing to the Refrigerator
Route the tubing through the drilled hole. Keep the path direct to avoid unnecessary kinks.
Step 4: Connect the Tubing to the Refrigerator Valve
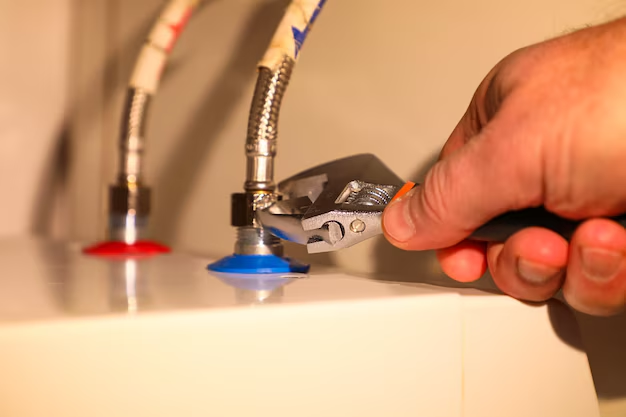
Attach the tubing to your refrigerator’s water valve. Use an adjustable wrench to ensure a tight and secure fit. Add another layer of Teflon tape on the threads for added security.
Step 5: Test for Leaks
Once all connections are made:
- Turn on the water supply and check for leaks. Tighten connections as needed.
- Run water through the system: Use the refrigerator’s water dispenser to let the water flow, ensuring air is flushed and the line operates correctly.
Step 6: Secure and Neat
Secure the tubing to avoid damage. Use tools like clips or straps to keep it against other surfaces, preventing any accidental kinks or breaks.
Troubleshooting Tips
Even with thorough preparation, you may encounter issues. Here are some troubleshooting ideas for common complications:
- Water not dispensed: Ensure the valve at the water source is open, and the tubing isn't kinked.
- Slow water flow: Clean or replace the water filter in your refrigerator.
- Leaking connections: Double-check your fittings and Teflon tape applications for proper tightness.
Maintenance and Upkeep
To ensure the longevity and efficiency of your water line connection, regular maintenance is essential:
- Inspect regularly: Check for wear, cracks, or leaks in the tubing.
- Replace filters: Follow your refrigerator’s guidelines to replace water filters regularly to maintain water quality.
Quick Summary of Key Steps
Here’s a concise checklist to keep handy as you proceed:
- 🔧 Gather Your Tools: Ensure all tools and components are ready.
- 🔗 Choose Tubing Wisely: Decide between plastic and copper tubing.
- 🚰 Identify Water Source: Confirm the best water connection point.
- 🛠️ Install Carefully: Follow the step-by-step guide to connect tubing.
- 🧰 Regular Maintenance: Conduct routine inspections and change filters.
The Takeaway
Hooking up your refrigerator water line can transform your kitchen experience, providing convenience, sustainability, and modern amenities. By following the steps in this guide, you're well on your way to a successful setup. Remember, preparation and safety are your best tools. Enjoy the refreshing results of a job well done!

