Transform Your Kitchen: A Step-by-Step Guide to Painting Your Refrigerator
Revamping your kitchen can be as simple as refreshing your refrigerator with a fresh coat of paint. This guide aims to empower you with the skills and confidence to transform your dated or mismatched refrigerator into a stylish centerpiece. Whether you're looking to match your modern decor or add a pop of color, painting your refrigerator can make a significant impact.
🎨 Why Paint Your Refrigerator?
Renewed Aesthetic: An old fridge can look brand new with just a fresh coat of paint. This transformation can enhance your kitchen's overall ambiance, making it feel fresh and inviting.
Cost-Effective Upgrade: Instead of investing in a new appliance, painting offers a budget-friendly alternative. It allows you to achieve a custom look without the expense of purchasing a new refrigerator.
Creative Expression: Personalize your kitchen by experimenting with bold colors or artistic designs. Painting gives you the freedom to express your taste and style.
🛠️ Essential Tools and Materials
Before diving into the painting process, gather all necessary materials to ensure a smooth and efficient task.
Supplies You Will Need
- Sandpaper: Medium to fine grit, for prepping the surface.
- Painter's Tape: To protect areas you don’t want to paint.
- Cleaning Supplies: A gentle detergent or vinegar solution for cleaning the surface.
- Paint Roller and Brushes: Foam rollers work best for even coats, while brushes can be used for edges.
- Primer: Specialized appliance primer adheres well to metal surfaces.
- Paint: Epoxy or appliance paint, recommended for its durability and sheen.
- Drop Cloths: To protect your floor from spills.
- Screwdriver: For removing handles and hardware.
Choosing the Right Paint
Selecting the appropriate paint is crucial for a durable and appealing finish. Appliance epoxy paint is designed to withstand the demands of kitchen appliances. It adheres smoothly, dries to a hard finish, and resists chipping.
🛑 Safety First!
Before you begin, ensure you prioritize safety. Unplug your refrigerator and move it to a well-ventilated area to avoid inhaling fumes. Use protective gear, such as gloves and masks, to safeguard your health.
🧰 Step-by-Step Painting Process
Here’s a comprehensive guide to achieving a professional-looking painted refrigerator:
1. Preparation
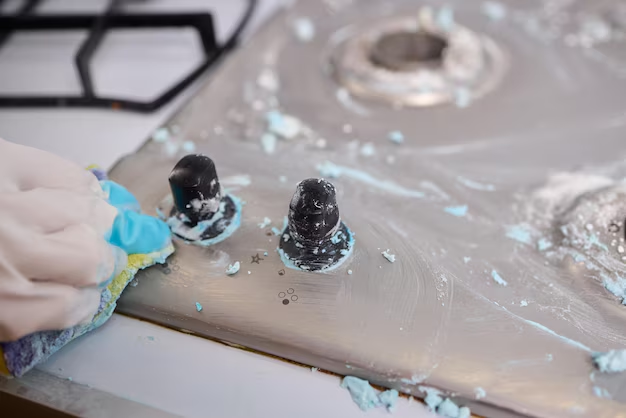
Clean the Surface: Use warm soapy water or a vinegar solution to remove grease and dirt. A clean surface ensures better paint adhesion.
Remove Hardware: Detach handles and any removable parts using a screwdriver. This allows for smoother paint application and uniformity.
Sand the Surface: Lightly sand the entire fridge to create a rough texture for the primer to grip. Wipe down with a damp cloth to remove sanding dust.
Tape Off Areas: Use painter's tape to protect seals, hinges, and any parts you don’t want painted.
2. Priming
Apply Primer: Use a foam roller to apply an even coat of primer. This step is vital for helping the paint adhere and provides a consistent surface for topcoat application. Allow it to dry completely as per the manufacturer’s instructions.
3. Painting
First Coat: Once the primer is dry, use a clean foam roller or brush to apply the first coat of paint. Move in the same direction for a smooth finish.
Let it Dry: Allow ample drying time between coats. This prevents smudging and ensures each layer hardens properly.
Second Coat: Repeat the application for a second coat. Multiple thin coats are preferred over a single thick layer to avoid drips and uneven coverage.
4. Finishing Touches
Reattach Hardware: Once the paint has fully dried, reattach handles and other components. Make sure all screws are tightly secured.
Remove Tape: Gently peel off the painter’s tape, taking care not to strip away any paint.
👁️🗨️ Pro Tips for a Flawless Finish
- Temperature Control: Paint in moderate temperatures (around 60-75°F) for best curing conditions.
- Smooth Edges: Use a small brush for hard-to-reach areas and edges to ensure complete coverage.
- Rest Period: Let the refrigerator sit unplugged for at least 24 hours post-painting to ensure all layers are thoroughly dry.
🎉 Personalize Your Style
Adding a personal touch can elevate your design.
Try These Creative Add-Ons:
- Chalkboard Paint: Turn one side into a writable surface for notes and grocery lists.
- Stencils: Create patterns or designs that reflect your personality.
- Magnetic Paint: Add functionality by allowing magnets to adhere to the surface.
🟡 Quick-Summary Checklist
Before embarking on your refrigerator's makeover, keep these handy reminders:
- 🧼 Clean and Sand: Preparation is key to a lasting finish.
- 🎨 Use Primer: Sets a foundation for paint adherence.
- 🕒 Layer and Dry: Multiple thin coats with adequate drying periods.
- 🛡️ Safety Gear: Always protect yourself with masks and gloves.
🔍 Key Takeaways
- A painted refrigerator can revitalize and personalize your kitchen.
- Appliance-specific paints and primers are necessary for a resilient finish.
- Creativity knows no bounds—explore stencils, chalkboard, and more for embellishment.
Redeploying the refrigerator as a canvas allows for innovative and budget-conscious updates. By incorporating this guide’s practical advice, your kitchen can be both functional and visually pleasing. Set your creativity free, and enjoy the process of transforming your space into a reflection of your style!