A Step-by-Step Guide to Replacing Your GE Refrigerator Water Filter
Imagine heading to your kitchen for a glass of water only to be met with an unpleasant taste or smell. It might be time to replace the water filter in your GE refrigerator! Not only does a fresh filter enhance the taste of your water, but it also ensures your water is clean and safe for consumption. In this detailed guide, we'll walk you through the process of replacing your GE refrigerator water filter, offering practical tips along the way.
Why Replace Your GE Refrigerator Water Filter?
Changing your water filter regularly is crucial for maintaining the quality of water you consume. Over time, filters become clogged with the impurities they trap. Here are a few reasons to stay on top of replacing your filter:
- Improved Water Taste: A clean filter removes contaminants that can affect the taste of your water.
- Health and Safety: Filters help capture harmful substances.
- Efficiency: Regularly changing your filter can maintain optimal water flow and pressure.
- Appliance Longevity: Proper maintenance of the filter can enhance the lifespan of your refrigerator.
When to Replace Your GE Water Filter
Most GE refrigerator water filters should be replaced every six months, but this can vary based on usage and water quality in your area. Keep an eye out for these signs:
- The water starts to taste or smell different.
- The ice cubes look cloudy or seem smaller than usual.
- The flow of water is slower.
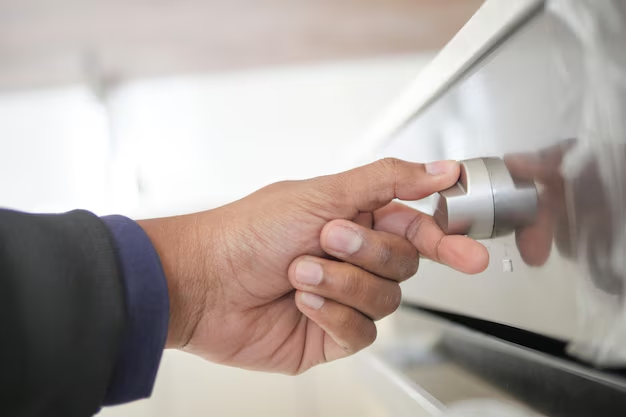
How to Replace Your GE Refrigerator Water Filter
Preparing for the Replacement
Before you start the replacement process, ensure you have the correct filter model for your refrigerator. GE has several filter models, each compatible with different refrigerator series. Check your user manual or the label inside the fridge for compatibility.
Tools and Supplies
- Replacement water filter (specific to your model)
- Towel or cloth (to catch any drips)
- Container to hold any residual water
Step-by-Step Instructions
Step 1: Locate the Water Filter
GE refrigerator models typically have the water filter located in one of two places:
- Inside Top Right Corner: Open the refrigerator door to access.
- Bottom Base Grille: This location may require you to open the door further or remove the grille for easier access.
Step 2: Turn Off the Water Supply
It's a good practice to turn off the water supply to the refrigerator before changing the filter to prevent leaks. The shutoff valve is usually located behind or beneath the refrigerator.
Step 3: Remove the Old Filter
- For filters located inside the fridge: Turn the filter counterclockwise to release it. Gently pull it out.
- For filters in the base grille, press the button next to the filter to release it.
As you remove the filter, have your towel ready to catch any water that might spill.
Step 4: Install the New Filter
- Align and Insert: Take your new filter and insert it into the filter housing. Ensure it lines up with the corresponding slots if applicable.
- Secure the Filter: Turn the filter clockwise in the housing to lock it into place. Some models will ‘click’ to indicate it’s secure.
Step 5: Turn the Water Back On
Restore the water supply to your refrigerator. Check for any leaks where the filter is installed.
Step 6: Flush the Filter
Before using the water, flush the system. This means discarding approximately 2-3 gallons of water to remove any air and loose carbon particles from the new filter.
Important Tips
- Use Only GE Replacement Filters: Generic filters might not fit correctly or perform as well.
- Keep Spare Filters: Have a couple of replacement filters on hand to ensure you can switch promptly at the recommended interval.
- Set a Reminder: Use your phone or a calendar to remind you of the next replacement.
Related Considerations
Choosing the Right GE Water Filter
GE offers a range of filters. Some may have multiple compatibility options, so check both the refrigerator model and the filter's packaging for compatibility.
Understanding Different Filter Technologies
Different filters use unique technologies to purify water, such as activated carbon, which is highly effective in removing chlorine taste and odor. The better you understand the filter's capabilities, the better you can gauge when a replacement is necessary.
Environmental Considerations
If you’re environmentally conscious, consider recycling your used water filters. Some retailers and manufacturers have take-back programs, so check for recycling opportunities in your area.
Common Issues
- Leaking Filter: Ensure it's screwed in correctly. If the problem persists, there might be an issue with the filter housing.
- Low Water Pressure: Make sure there aren’t any kinks in the water line and that the water valve is fully open.
Summary Table: Key Steps to Success
| Step | Action | Emoji |
|---|---|---|
| Preparation | Verify the filter model; gather tools and replacement filter | 🔍📦 |
| Locate & Remove | Turn off water; locate and remove the old filter | 🚰🔧 |
| Install | Insert and secure the new filter | 🔄🧊 |
| Restart | Turn the water back on; check for leaks | 🌊🔍 |
| Flush & Finish | Flush new filter with water | 💦✅ |
By following these steps, you ensure your GE refrigerator’s water supply remains fresh and clean. Taking time every six months to replace the water filter is a small effort that provides significant health benefits and keeps your appliance functioning efficiently. Stay hydrated and enjoy crisp, clean water right from your fridge!