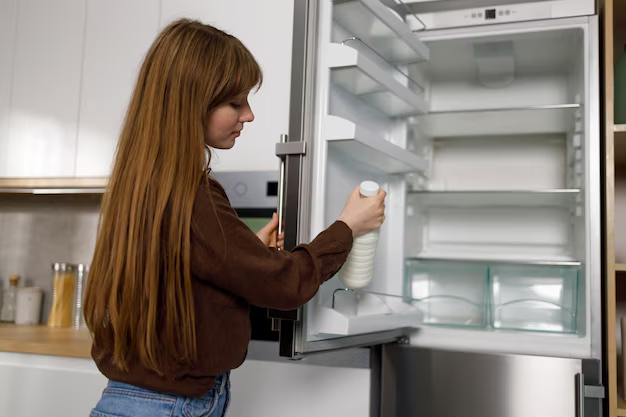
Everything You Need to Know About Replacing a Whirlpool Refrigerator Water Filter
Are you sensing that your water or ice tastes a bit off lately? Or perhaps your refrigerator has reminded you that it’s time for a filter change? Replacing your Whirlpool refrigerator water filter is straightforward and a crucial step in maintaining the quality of your drinking water and the efficiency of your appliance. Whether you're a seasoned DIY enthusiast or a first-time homeowner, this guide will walk you through the entire process with clarity and ease. Let’s dive in and explore how to keep your fridge and its contents fresh and clean.
Why Change Your Whirlpool Refrigerator Water Filter?
The Importance of Regular Replacements
Replacing your water filter regularly ensures that your family enjoys fresh, clean, and safe drinking water. Over time, filters become clogged with contaminants, reducing their effectiveness. A simple replacement ensures your filter functions efficiently, blocking impurities such as chlorine, lead, and other potential harmful substances.
Signs It's Time to Replace the Filter
- Reduced Water Flow: A noticeable decrease in water flow from the dispenser can indicate a clogged filter.
- Strange Tastes or Odors: If your water or ice develops an unusual taste or smell, the filter may no longer be purifying correctly.
- Automatic Alerts: Many modern Whirlpool refrigerators have indicator lights or alerts to remind you when it's time for a replacement.
Tools Required for the Task
What You’ll Need
- Replacement Filter: Ensure you have the correct filter model. Whirlpool offers several filter types, each compatible with different refrigerator models. Your refrigerator’s user manual can help in identifying the correct one.
- Towel: A towel can catch any water spills as you replace the filter.
- Time: Set aside a few minutes. The process is quick and straightforward.
Step-by-Step Guide to Replace Your Whirlpool Refrigerator Water Filter
Preparation Steps
- Locate the Filter Compartment: Depending on your refrigerator model, the filter may be located inside the fridge, usually in the upper right corner, or at the base, often behind a kickplate.
- Turn Off Water Supply (Optional): While not always necessary, you can turn off the water supply to prevent spills during the replacement process.
Replacement Process
Remove the Old Filter:
- For push-button types, press the button next to the filter to release it.
- For others, twist counterclockwise to unlock and pull out the filter.
Install the New Filter:
- Remove the protective caps from the new filter.
- Insert it into the filter housing and twist clockwise or push firmly until it locks in place.
Reset the Indicator Light:
- Most Whirlpool refrigerators have an indicator light that needs resetting after a filter change. Consult your model's manual for specific instructions, often requiring a simple button press for a few seconds.
Post-Installation Tips
- Flush the System: Run several gallons of water through the dispenser to clear any carbon particles from the new filter. This also helps remove trapped air.
- Check for Leaks: Ensure there are no drips or leaks around the filter area.
Troubleshooting Common Issues
Problems and Solutions
- Filter Stuck: If the old filter is stuck, ensure you are using adequate force without damaging the compartment. Consult your manual for specific advice.
- Water not Flowing Post-Installation: Verify the filter is seated correctly. Check if the water supply is fully turned on if you previously turned it off.
Understanding Whirlpool Water Filter Models
Main Filter Types
- EveryDrop Filters: These are the most common and recommended.
- Twist-On Models: Require twisting to remove and install.
- Push Button Models: Feature a simple push mechanism for removal.
Choosing the Right Filter Model
The right filter for your refrigerator depends on your specific model. Consult your user manual or check the existing filter for model numbers to determine the appropriate replacement part.
Maintenance Tips for Prolonged Efficiency
- Regular Replacements: Change your filter every six months, or more frequently if you have hard water.
- Clean Filter Housing: Occasionally clean the filter housing to remove any accumulated debris.
- Monitor Water Quality: Pay attention to changes in water quality as a prompt for unexpected filter changes.
Embrace a Systematic Approach to Water Filter Replacement
Taking a systematic approach to replacing your Whirlpool refrigerator’s water filter ensures not just pristine water quality, but also the longevity of your appliance. By making this a routine task, you’re contributing positively to household maintenance. Here’s a quick breakdown of key takeaways for easy skimming:
🔧 Quick Replacement Tips:
- Schedule Regular Changes: Every 6 months is ideal.
- Stay Prepared: Keep an extra filter on hand for seamless transitions.
- Reset Indicators: Don't forget to reset the alert system after each change.
- Hydrate Smart: Enjoy cleaner, healthier water all year round.
By following these practices, you're not just educating yourself but empowering every fridge user in your home to engage in proper appliance maintenance. Regular filter replacement is a small task with significant benefits, ensuring that cup after cup is filled with clean, refreshing water. So, arm yourself with the essentials, get comfortable with the steps, and you'll find this home maintenance task a breeze every time.

