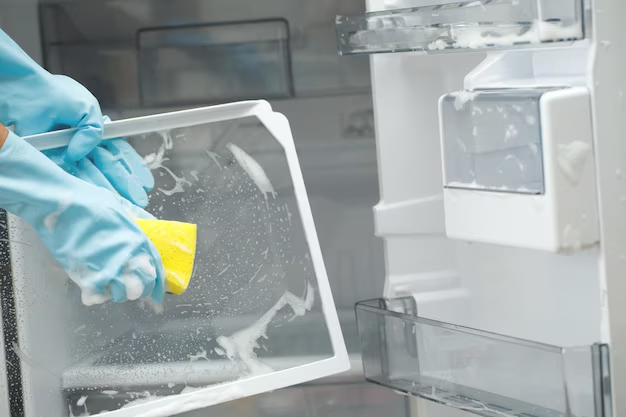
Keeping Your Refrigerator Seal Clean: A Detailed Guide to Removing Mold
A clean home often extends to all those tucked-away corners that might not be front-of-mind until something goes awry. The refrigerator seal, which plays a pivotal role in keeping your food fresher for longer, can unfortunately become a breeding ground for mold if neglected. This section of your fridge is prone to accumulating moisture and debris, making it vulnerable to mold growth. Fret not! We’re here to guide you with authoritative yet approachable steps to thoroughly clean and maintain the seal of your refrigerator. 🧽
📚 Understanding Mold in Refrigerator Seals
How Mold Develops
Mold forms when mold spores, which are ever-present in the air, land on a surface with the right conditions: moisture, warmth, and nutrients. Refrigerator door seals, made of rubber, can accumulate moisture due to condensation, food particles, and spills, creating a perfect environment for mold growth. Recognizing the development at its onset can prevent more extensive cleaning efforts later on.
Why It’s Important to Remove Mold
Mold is not just an unsightly inconvenience. Although specific guidelines about mold's risk levels in a home environment aren't universally quantified, it’s generally understood that it can affect air quality, spoil food, and may pose health risks to those with allergies or respiratory issues. Keeping your refrigerator seal mold-free ensures your environment stays safe and your refrigerator functions at its best.
🛠️ Step-by-Step Guide to Removing Mold from Refrigerator Seals
Essential Cleaning Supplies
Before diving in, gather the following supplies that are effective in mold removal:
- White vinegar: Known for its mold-killing properties.
- Baking soda: A gentle abrasive.
- Warm water: For rinsing and making cleaning solutions.
- Microfiber cloths: They’re gentle yet effective.
- Old toothbrush or soft-bristle brush: For scrubbing the seal’s grooves.
- Spray bottle: To apply cleaning solutions evenly.
- Disposable gloves: Protect your hands from mold and cleaning solutions.
Cleaning Procedure
Preparation:
- Unplug the refrigerator to ensure safety.
- Put on your disposable gloves to avoid direct contact with mold.
Initial Inspection:
- Wipe down the seal with a dry cloth to remove loose debris.
- Examine the seal thoroughly for mold spots or discoloration.
Vinegar Solution Application:
- Mix equal parts white vinegar and water in a spray bottle.
- Generously spray the mixture onto the mold-affected areas of the seal.
- Let it sit for 5–10 minutes to help break down the mold.
Scrub and Rinse:
- Use an old toothbrush or a soft-bristle brush to scrub the seal’s grooves gently.
- Rinse a cloth in warm water and wipe the seal to remove the vinegar solution along with loosened mold.
Tackle Stubborn Spots:
- For spots that resist vinegar, create a paste of baking soda and water.
- Apply with the toothbrush and gently scrub.
- Wipe away the residue with a water-rinsed cloth.
Dry and Inspect:
- Thoroughly dry the seal with a clean microfiber cloth to prevent further moisture accumulation.
- Ensure all mold is removed. Repeat if necessary.
🌟 Preventive Measures to Keep Mold Away
Routine Maintenance Tips
- Regular Cleaning: Incorporate a cleaning regimen that involves wiping down the seal every few weeks using the vinegar solution to prevent mold spores from taking hold.
- Immediate Spill Clean-Up: Address spills and leaks immediately to prevent moisture from seeping into the seal.
- Seal Inspection: Regularly inspect for any damage that could let more moisture in, warranting replacement.
Maintaining Optimal Conditions
- Proper Food Storage: For long-term freshness, use tightly sealed containers that minimize spills and leaks within the fridge.
- Temperature Control: Keep your refrigerator at the appropriate temperature. Consistently cold environments discourage mold growth.
- Ventilation: Ensure the fridge has adequate ventilation to prevent excess humidity.
📝 Mold Removal Quick Summary
Here's a handy bulleted list to keep you on top of the process:
- Gather Supplies: 🧼 Vinegar, baking soda, warm water, cloth, old toothbrush, spray bottle, gloves.
- Solution Mix: Mix equal parts white vinegar and water.
- Apply and Sit: Spray solution onto seal, let sit for 5–10 minutes.
- Scrub: Use an old toothbrush for tough mold spots.
- Rinse and Dry: Wipe seal with a damp cloth, thoroughly dry to avoid moisture retention.
- Prevention: Regular cleaning, prompt spill clean-up, monitor temperature and seal condition.
🧩 Adding Context with Related Topics
When to Replace a Refrigerator Seal
Regular maintenance will significantly extend the life of your refrigerator seal, but sometimes replacement is inevitable. If the seal is cracked, torn, or fails to form a tight closure, it might be time to consider a replacement. A compromised seal can lead to increased energy usage and strain on your appliance as it works harder to maintain the right temperature.
Understanding Different Types of Refrigerator Seals
Not all refrigerator seals are created equal. Depending on your model, seals can vary in design and material. Familiarize yourself with your specific appliance’s requirements, which can guide you in maintenance efforts and eventual replacements.
👀 Conclusion: Staying on Top of Refrigerator Maintenance
By following the comprehensive guidelines outlined here, you not only keep your refrigerator seal free from mold but also contribute to the overall efficiency and longevity of your appliance. Regular attention to detail and maintenance of even the smallest component, like the door seal, safeguards your food quality and creates a healthier living environment.
Embrace these practical tips and keep your kitchen — from your fridge at least — in tip-top shape, a proactive measure that pays dividends in comfort and safety. 🏠

