Illumination Made Easy: Changing the Light in Your Whirlpool Refrigerator
Your Whirlpool refrigerator is more than just a cooling box; it's a central hub in your kitchen. The soft glow from its light helps guide you as you reach for a late-night snack or cook up a storm. But what happens when that trusty light goes out? This comprehensive guide will walk you through changing the interior light in your Whirlpool refrigerator, with step-by-step instructions and helpful tips to ensure a smooth process.
Why Refrigerator Lights Matter
Refrigerator lights serve not only to illuminate your food but also to enhance the functionality and safety of the appliance. When your fridge light isn't working, it might seem like a minor issue, but navigating in the dark can lead to confusion and food waste.
Common Reasons for Light Failure
Understanding why the light might fail is the first step to troubleshooting:
- Burned-Out Bulb: Over time, light bulbs naturally burn out due to usage.
- Loose Bulb: Vibration from the fridge can sometimes cause the bulb to loosen.
- Faulty Light Socket: Worn sockets may not maintain a connection with the bulb.
- Door Switch Issues: The switch might not signal the refrigerator to turn on the light when the door opens.
How to Identify the Light Problem
Before you rush to change the bulb, it's crucial to diagnose the problem correctly. Here's how:
- Check the Bulb: Open the refrigerator door. If the light flickers, try simply tightening the bulb.
- Test Other Appliances: Ensure there's power in the house or if there's a blown fuse affecting your kitchen appliances.
- Inspect the Door Switch: Gently press the door switch to see if the light turns on or off.
- Look for Visible Damage: Examine the bulb and its socket for any visible signs of burning or damage.
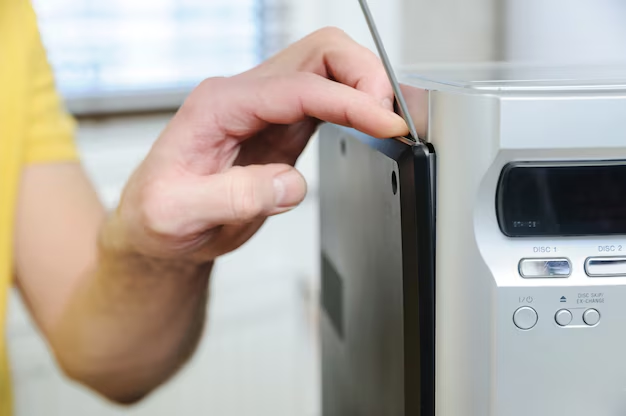
Step-by-Step: Changing the Light Bulb
Changing a light bulb in a Whirlpool refrigerator is usually a simple task that requires few tools. Here’s what you'll need:
Tools Required:
- A replacement light bulb (consult your refrigerator manual for the correct type).
- A screwdriver (if necessary, to remove a light shield).
Step 1: Safety First
- Unplug the Refrigerator: For your safety, always unplug your refrigerator before beginning any repair work to avoid electric shock.
Step 2: Access the Light Bulb
- Locate the Light: Typically, the light bulb is found at the top of the refrigerator section.
- Remove the Light Covering (if applicable): Some models have a protective covering over the bulb. Use your screwdriver if it's screwed in place.
Step 3: Remove the Old Bulb
- Unscrew the Bulb: Gently turn the bulb counterclockwise until it’s completely loose. Be careful, as it might still be hot if recently used.
Step 4: Install the New Bulb
- Screw in the New Bulb: Carefully insert the new bulb into the socket, turning it clockwise until secure but not overtightened.
Step 5: Test the Light
- Plug the Refrigerator Back In: Restore power to the fridge, and open the door to test the new bulb. If it lights up, you've successfully resolved the issue!
Troubleshooting Persistent Issues
If a new bulb doesn’t solve the problem, the issue may be more complex. Here are additional strategies:
Switch and Socket Inspection
- Check the Door Switch: Clean it carefully and ensure it isn’t jammed.
- Inspect the Socket: Look for any corrosion or burnt areas that might affect the bulb’s function.
Consider Professional Assistance
Continuous issues may require professional intervention. Contact a service technician if you're unable to resolve the light problems on your own.
Preventive Maintenance & Tips
Maintaining your refrigerator ensures longevity and optimal performance. Here are a few tips:
- Use the Correct Bulb: Always use the manufacturer's recommended bulb type and wattage.
- Regularly Clean the Fridge: A clean fridge reduces strain on its components and helps light fixtures last longer.
- Periodically Check the Door Switch: Ensure it operates smoothly and isn't sticky.
When It's More Than Just a Light Problem
Understanding your refrigerator’s other potential issues can save time and money in the long run. Below are some insights on related topics:
Temperature Fluctuations
Faulty lighting can sometimes coincide with other malfunctions, such as temperature inconsistencies. Regularly check temperatures to ensure your food storage is safe.
Excessive Frost or Condensation
If you notice increased frost or condensation along with light issues, the door seal might need attention.
Quick Reference Summary
Here's a handy checklist 🚀 for changing your Whirlpool refrigerator light and troubleshooting basics:
- Check Power: Ensure the appliance is plugged in with a consistent power supply.
- Light Bulb: Always have a spare bulb for quick replacements.
- Safety: Always unplug your fridge before repair.
- Door Switch: Keep it clean and functional.
- Regular Inspection: Incorporate minor inspections into your cleaning routine.
Final Thoughts: Embrace the DIY Spirit
Changing a refrigerator light is a task even a novice DIYer can tackle with confidence. Equipped with the right tools and knowledge, you can quickly restore the illumination in your Whirlpool refrigerator while gaining minor repair skills applicable in other household challenges.
With these strategies, you're equipped to handle your Whirlpool refrigerator's light issues comprehensively. Whether it's a simple bulb replacement or a more thorough investigation, this guide empowers you to act confidently and safely.