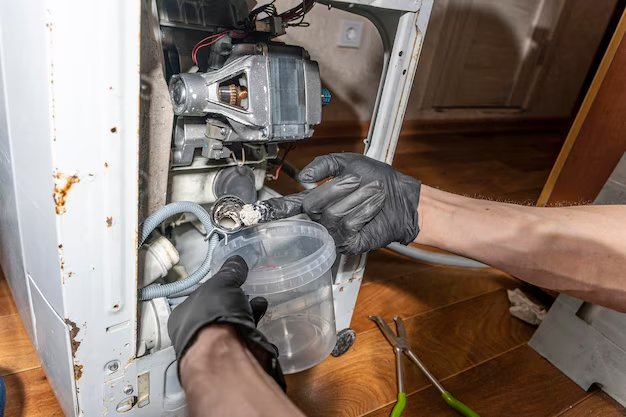
Solving the Drip: How to Easily Stop Your Refrigerator from Leaking Water
Discovering a water puddle beneath your refrigerator can be frustrating, not to mention alarming. Though it might seem like a daunting task, addressing a leaking refrigerator can often be straightforward. This guide is designed to help you tackle this common household issue while keeping your kitchen dry and your appliances in top shape.
Why Is My Refrigerator Leaking? Common Causes Explained
1. Blocked Defrost Drain
Over time, food particles and debris can clog the defrost drain. This blockage prevents water from properly draining, leading it to pool inside or beneath your fridge.
2. Damaged Door Seal
A compromised door seal allows warm air to enter, causing excess condensation that the defrost system can't manage. This extra moisture may escape as leaks.
3. Faulty Water Filter
If your fridge is equipped with an ice maker or water dispenser, a malfunctioning filter can lead to leaks. Incorrect installation or needing a replacement can disrupt the water flow.
4. Overflowing Drain Pan
Though automated drainage might contribute to leaks, an overwhelmed drain pan is another common culprit. Water-logged or cracked pans won't efficiently handle regular defrost cycles.
5. Water Supply Line Issues
A compromised water line, whether due to aging, wear, or improper connection, can manifest as visible or concealed leaks.
Step-by-Step Guide to Fix Your Leaking Refrigerator
1. Investigate and Clear the Defrost Drain
- Unplug Your Refrigerator: Safety first, always disconnect your appliance before attempting repairs.
- Locate the Drain: Typically found at the back inside wall of the freezer section, consult your manual for specifics.
- Removal and Cleaning: Employ a turkey baster or warm water to dissolve any icy culprits; use a pipe cleaner to eradicate debris.
- Confirm Success: Monitor drains after cleaning to ensure proper flow before concluding this as the leak's source.
2. Inspect and Replace the Door Seal
- Check for Door Closure: Ensure seamless contact and closure when the door seals shut.
- Visual and Physical Test: Feel for cracks or wear and conduct a paper test by closing a sheet of paper in the door; resistance indicates efficiency.
- Exchange with a New Seal: Detach the existing seal using a screwdriver or pull; clean the area before affixing the replacement snugly.
3. Verify and Exchange the Water Filter
- Consult Manufacturer Guidelines: Fit a compatible and correctly installed replacement filter.
- Routine Replacement: Typically every 6 months, to preempt potential obstructions and compromised performance.
- Re-Test for Leaks: Assess after reconnection for leaks or drips as maintenance confirmation.
4. Empty or Replace the Drain Pan
- Shield Against Overflows: Ensure water evaporates efficiently without spillage.
- Extraction and Analysis: Remove and empty, checking for damage and drying for reinstallation.
- Cycle Observation: Ensure swift water dispersion during regular operation as evidence of success.
5. Examine and Address Water Supply Line Issues
- Physical Checks: Verify connections, flexibility, and any kinks or fractures.
- Re-secure Loose Lines: Implement proper tightening mechanisms without overtightening.
- Replace Worn Lines: Where necessary, exchange compromised tubing with new, secure connections.
Tips to Keep in Mind 🌟
- Regular Maintenance: Enhance fridge longevity and cut disruptions by building regular cleaning schedules particularly focused on seals and drainage.
- Proactive Problem Solving: Identify minor signs like condensation build-up to prevent major leak development.
- Energy Efficiency Awareness: Preserve utilities by avoiding overtaxing your fridge in response to compromised components, like seals or filters.
Preventive Strategies for a Leak-Free Refrigerator
Optimize Fridge Organization
- Load Management: Avoid blocking vents to maintain global temperature control and reduce sweating.
- Container Care: Use air-tight and spill-proof containers to minimize accidental messes.
Consistent Cleaning Routine
- Interior Wipe-Down: Keep areas tidy and free from organic matter, which could contribute to drainage blocks.
- Seal Condition Maintenance: Regularly check and wipe clean to sustain elasticity and effectiveness.
Periodical Professional Inspections
- Professional Tune-ups: Consider annual checks by appliance technicians to provide an expert assessment of unknowns or non-obvious risks.
- Stay Ahead of Costly Repairs: Timely insights from those in the know could prevent major costs and appliance downtime.
Ultimately, the prevention and management of refrigerator leaks center around consistent care and periodic inspection. By ensuring each component operates effectively, you protect not just your kitchen aesthetics, but the longevity and efficiency of your appliance as well.

